4 August 2026
13 min read
What a good heat pump installation actually looks like

Published on
4 August 2026
Time to read
13 minutes
Key takeaways
- A good heat pump installation starts with a detailed, room-by-room heat-loss calculation and a system designed specifically for your home.
- Quality goes beyond neat pipework. Correct sizing, safe positioning, thorough commissioning and a proper handover all matter.
- Ask who will install your system, how it will be tested and what happens if it underperforms before you sign.
A heat pump can be brilliantly efficient. Four (or even five) times more efficient than a boiler if installed correctly. But even the best heat pump will struggle if it hasn’t been properly designed, installed and set up.
The tricky part for you? Most homeowners don’t install heating systems for a living. So when three companies recommend three different designs, it can be hard to know who’s right – or what a genuinely good heat pump installation should look like.
Well… we’re here to help. And the first thing you should know is that the quality of an installation starts long before anyone picks up a tool. It begins with a proper survey and a system designed around your home. Then comes careful installation, thorough testing and a handover that leaves you understanding exactly how everything works.
Here’s what to look for, what to ask and the warning signs worth knowing before you sign on the dotted line.
At a glance: what does a good heat pump installation include?
Not in the mood for a long read? Here’s a quick list of what a good heat pump installation should include:
- A detailed, room-by-room heat-loss calculation
- A heat pump correctly sized for your home
- Radiators and pipework assessed for lower-temperature heating
- An outdoor unit positioned securely with enough airflow
- Safe drainage for water produced during defrosting
- Properly insulated and securely fitted external pipework
- Thorough flushing, testing and commissioning
- A balanced heating system that warms rooms evenly
- Clear instructions, paperwork and warranty information
- Ongoing support if something doesn’t work as expected
Looks matter. But design, performance and accountability matter much more. At Aira, we strive for it all.

A good installation starts before installation day
You can tell a lot about an installer before they’ve drilled a single hole.
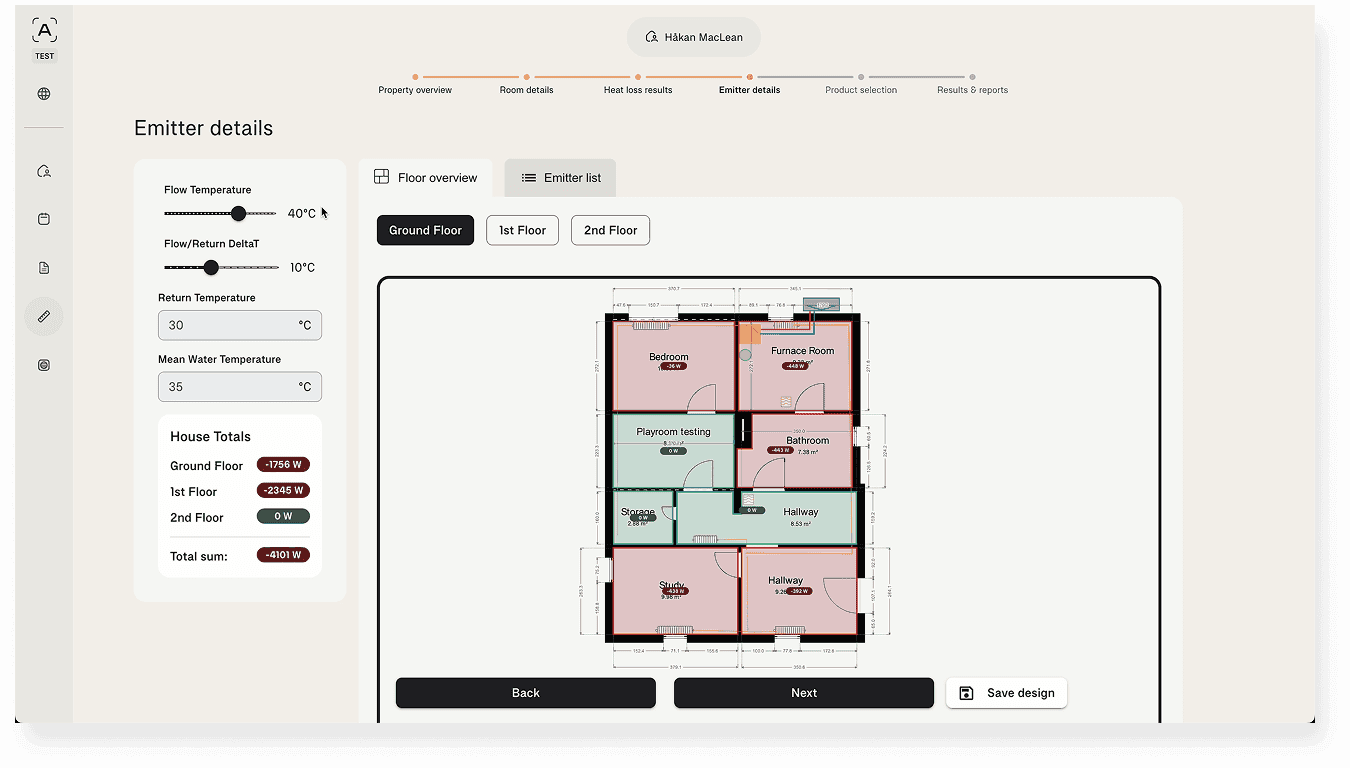
A proper heat pump design shouldn’t be based on a quick look at your old boiler, the size of your house or a few questions over the phone. Your installer needs to understand how much heat your home loses and how much each room needs to stay comfortable. For that, they need to visit your home.
A room-by-room heat-loss calculation
A heat-loss calculation estimates how much warmth escapes from each room on a cold day.
It should consider things like:
- The dimensions of each room
- External walls, floors and ceilings
- Windows and doors
- Insulation levels
- The temperature you want each room to reach
- Expected winter temperatures in your area
This calculation helps determine the size of your heat pump, the flow temperature it should run at and whether any radiators or pipework need upgrading.
A good sign: the installer can explain your home’s calculated heat demand and how it shaped their recommendation.
A red flag: the system is sized using only your existing boiler, EPC rating or total floor area.
At Aira, every installation begins with a free home energy assessment and subsequent technical survey, which includes a custom heat-loss calculation using our bespoke software. We use it to design the whole system around the home – from heat pump size and radiator output to flow rates, pipework and equipment locations.
A heat pump sized for your home
When it comes to heat pumps, bigger isn’t automatically better.
A heat pump that’s too small may struggle to keep your home comfortable in cold weather. But an unnecessarily large one can cost more, cycle on and off more frequently and operate less efficiently. So, a bit like Goldilocks and the three bears, it needs to be just right.
Your installer should be able to connect the recommended size directly to the heat-loss calculation – not simply say, “This is what we usually fit in a house like yours.” Sure, that’s okay for an early estimate, but not for a final design.
Ultimately, every home is different, so the design should reflect that.
Radiators and pipework assessed properly
Heat pumps typically circulate water at lower temperatures than fossil-fuel boilers. That’s one reason they can be so efficient, but it means the rest of the heating system needs to work alongside them.
A good installer should check:
- Whether your existing radiators can deliver enough heat
- Which radiators, if any, need upgrading
- Whether existing pipework can carry the required water flow
- How underfloor heating will be incorporated, where relevant
- The appropriate design flow temperature for your home
Larger radiators aren’t a sign that something is wrong with a heat pump. They have more surface area, allowing them to warm the room effectively with lower-temperature water.
Don’t worry, usually not every radiator needs replacing (sometimes, none at all). But the calculations in the heat loss survey should decide this – not guesswork.
Red flags in a quote or survey
Some warning signs appear before installation has even been booked.
Be cautious if:
- The entire survey is completed over the phone or online (unless you’re building something a new section of your home or major renovations)
- There’s no mention of a room-by-room heat-loss calculation
- The installer recommends a heat pump before properly assessing the property
- Radiators and pipework are barely discussed
- The price is significantly below the other quotes you receive, without a clear explanation
- There’s no written system design or commissioning report
- Important work appears to be missing from the quote
- The company can’t clearly explain who will physically install the system
- The installation is passed to subcontractors with no obvious direct accountability
- Nobody can explain what happens if the system underperforms once it’s installed
A cheap quote may look attractive. But make sure you’re comparing the same work.
One installer may appear more expensive because they’ve included necessary radiator upgrades, pipework changes, electrical work, removal of the old boiler, commissioning and aftercare. Another may not.
The cheapest installation can become expensive very quickly if the system doesn’t perform properly.
Questions to ask before you sign
Don’t worry, you don’t need to become a heating engineer to choose an installer. But a few straightforward questions can reveal a lot.
Ask:
Who will physically install my system?
Will it be the company’s own trained employees or a subcontractor?
Using subcontractors doesn’t automatically mean the work will be poor. But you should know who is responsible for the quality of the installation, who supervises the work and who puts things right if there’s a problem.
How have you calculated the size of my heat pump?
The installer should be able to talk you through the heat-loss calculation and explain how it informed the system design.
What flow temperature is the system designed to use?
Lower flow temperatures generally improve heat pump efficiency, although the right temperature depends on the property and design.
The important thing is that the installer has calculated it rather than guessed.
Why are you recommending these radiator or pipework changes?
They should be able to explain exactly what each upgrade achieves and how it supports comfort or efficiency. So you know they’re not adding on extra jobs for profit.
What will your commissioning report include?
Commissioning is the process of testing, configuring and signing off the completed installation.
Ask whether the report will record things such as:
- System pressure
- Water flow
- Electrical safety checks
- Heating settings
- Radiator balancing
- Functional tests
- Final sign-off
What happens if my system underperforms in year one?
A confident installer should be able to explain their aftercare process clearly.
Who monitors performance? Who do you call? Are visits, labour and replacement parts covered? What happens if your home doesn’t reach the expected temperature?
Can I speak to a recent customer in a similar home?
Photos are useful. Real customer experiences are better.
Ask for an example involving a comparable property, heating system or level of installation work. You can also visit a real heat pump owner through Nesta’s "Visit a Heat Pump Scheme".
What should a good outdoor unit installation look like?
The outdoor unit may be the most visible part of the system, so it naturally gets plenty of attention.
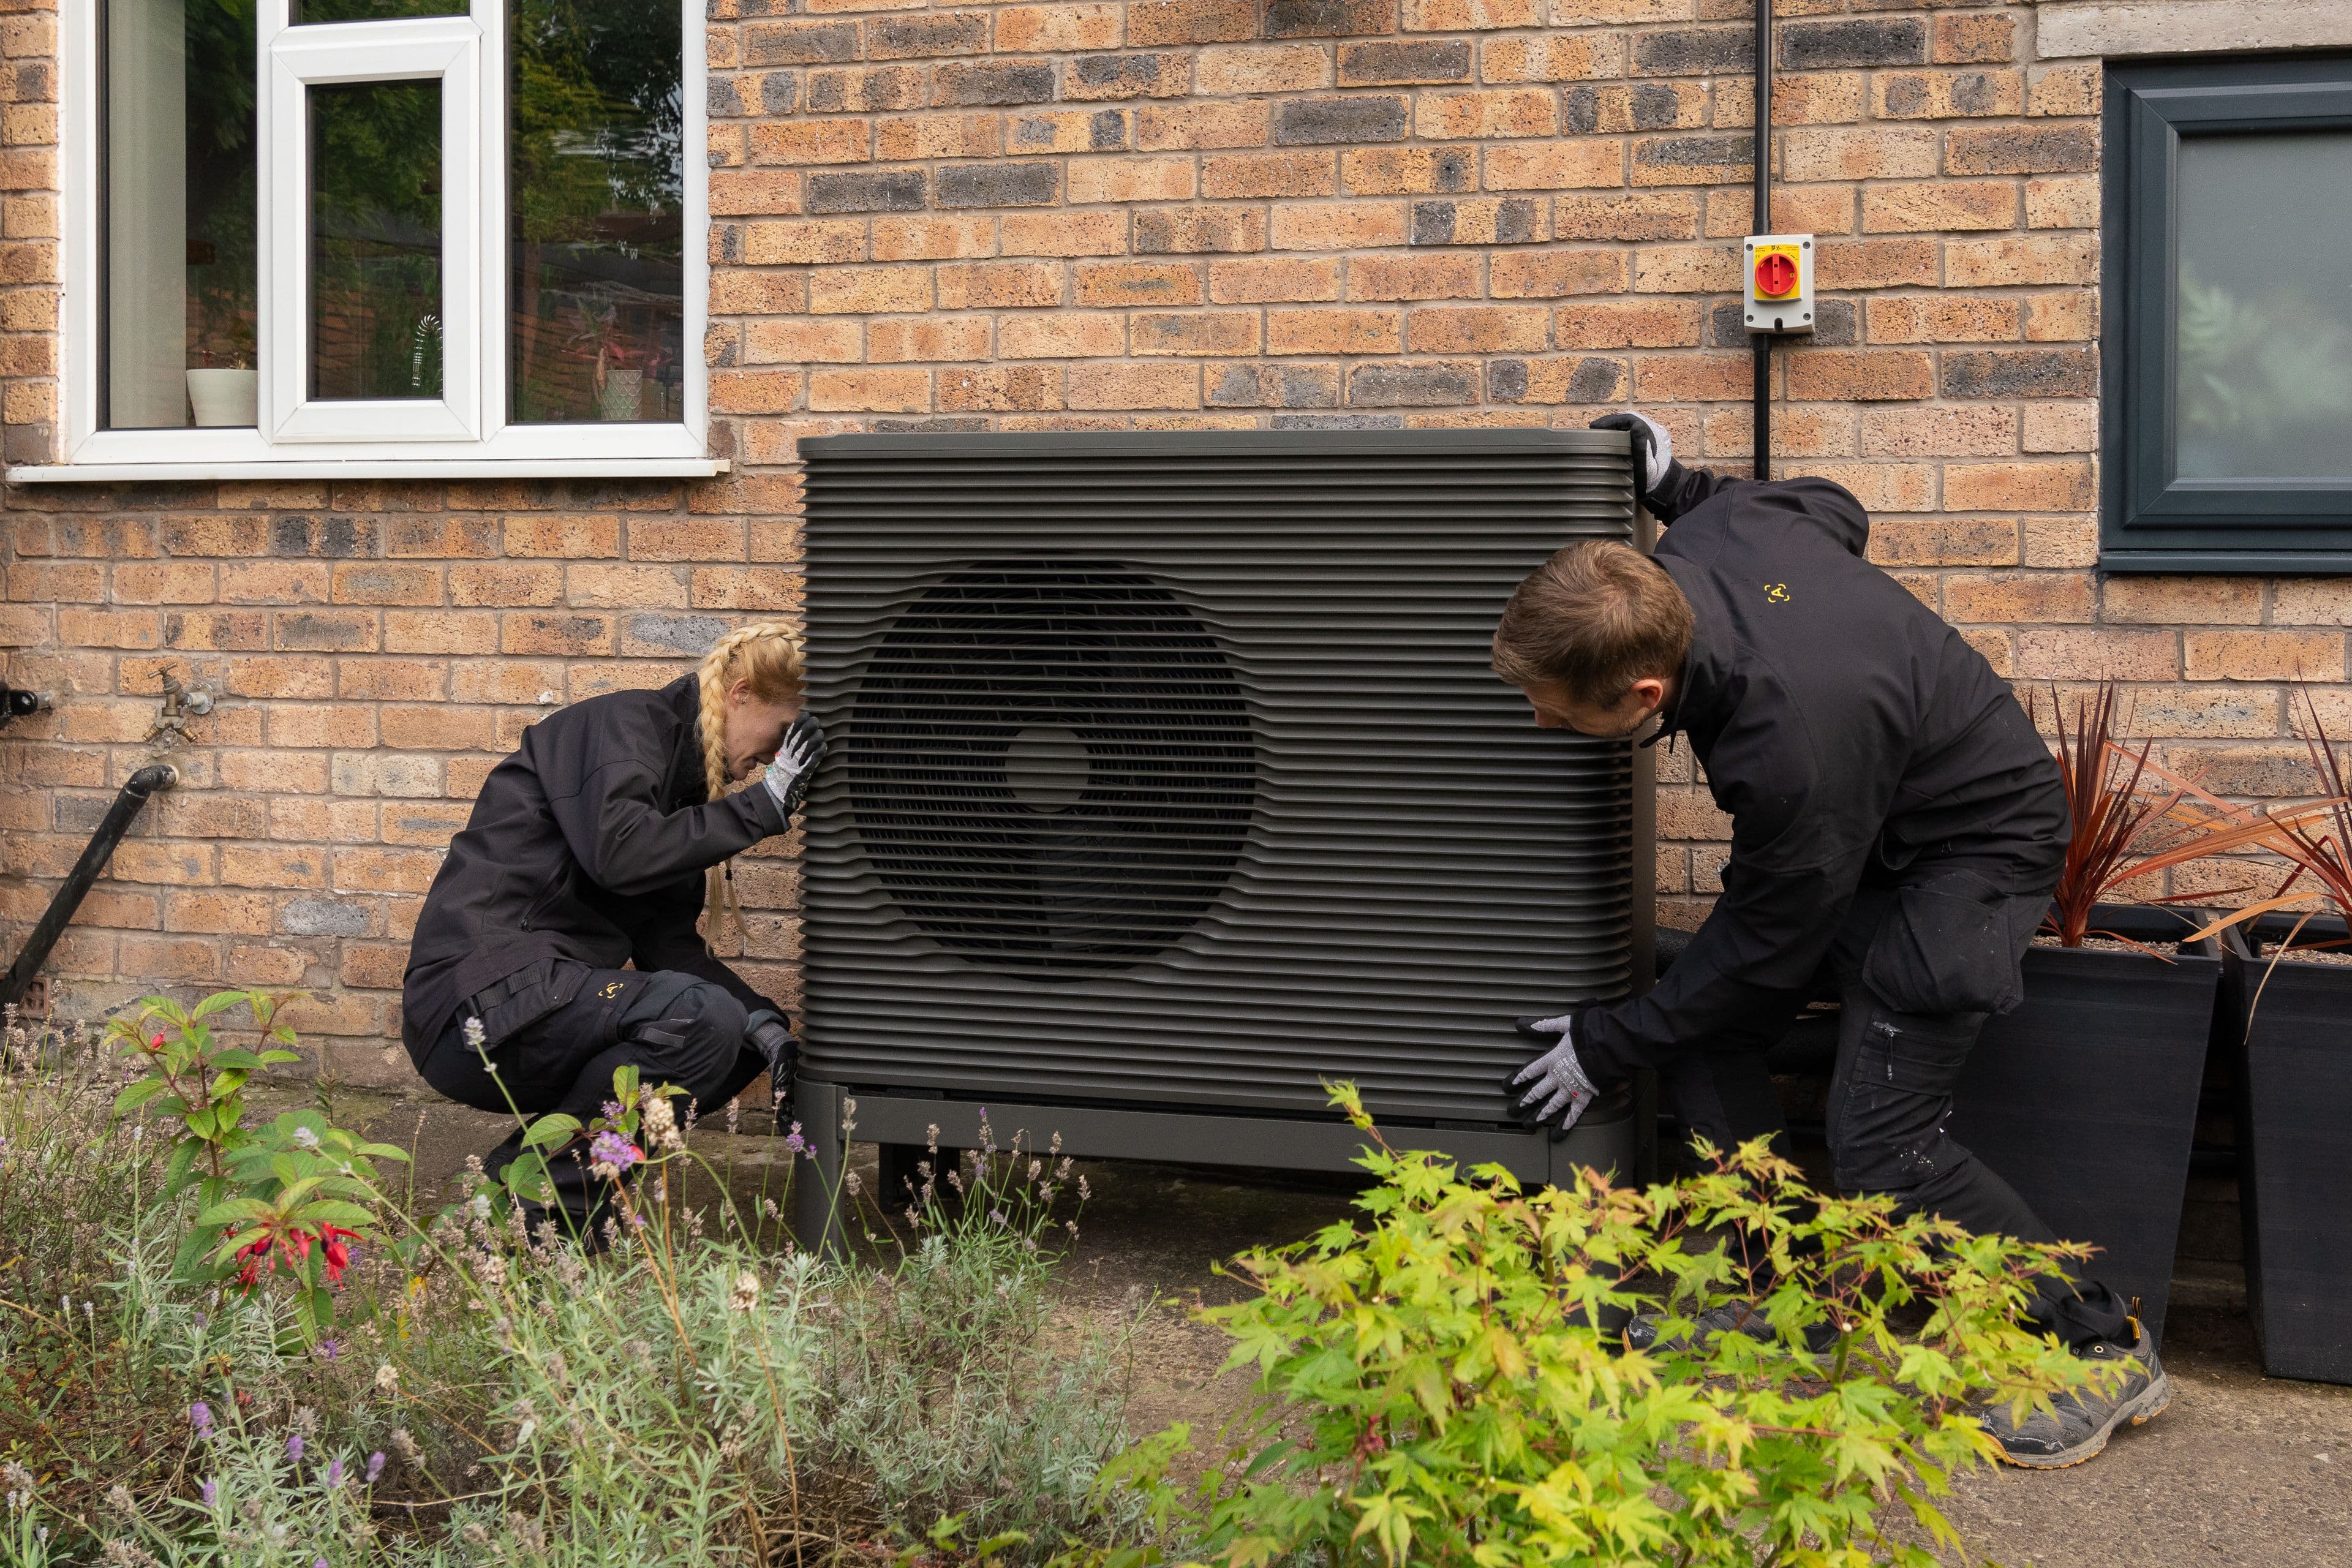
A tidy installation is reassuring. But it also needs to be positioned safely and correctly so it can operate efficiently.
Enough space for airflow
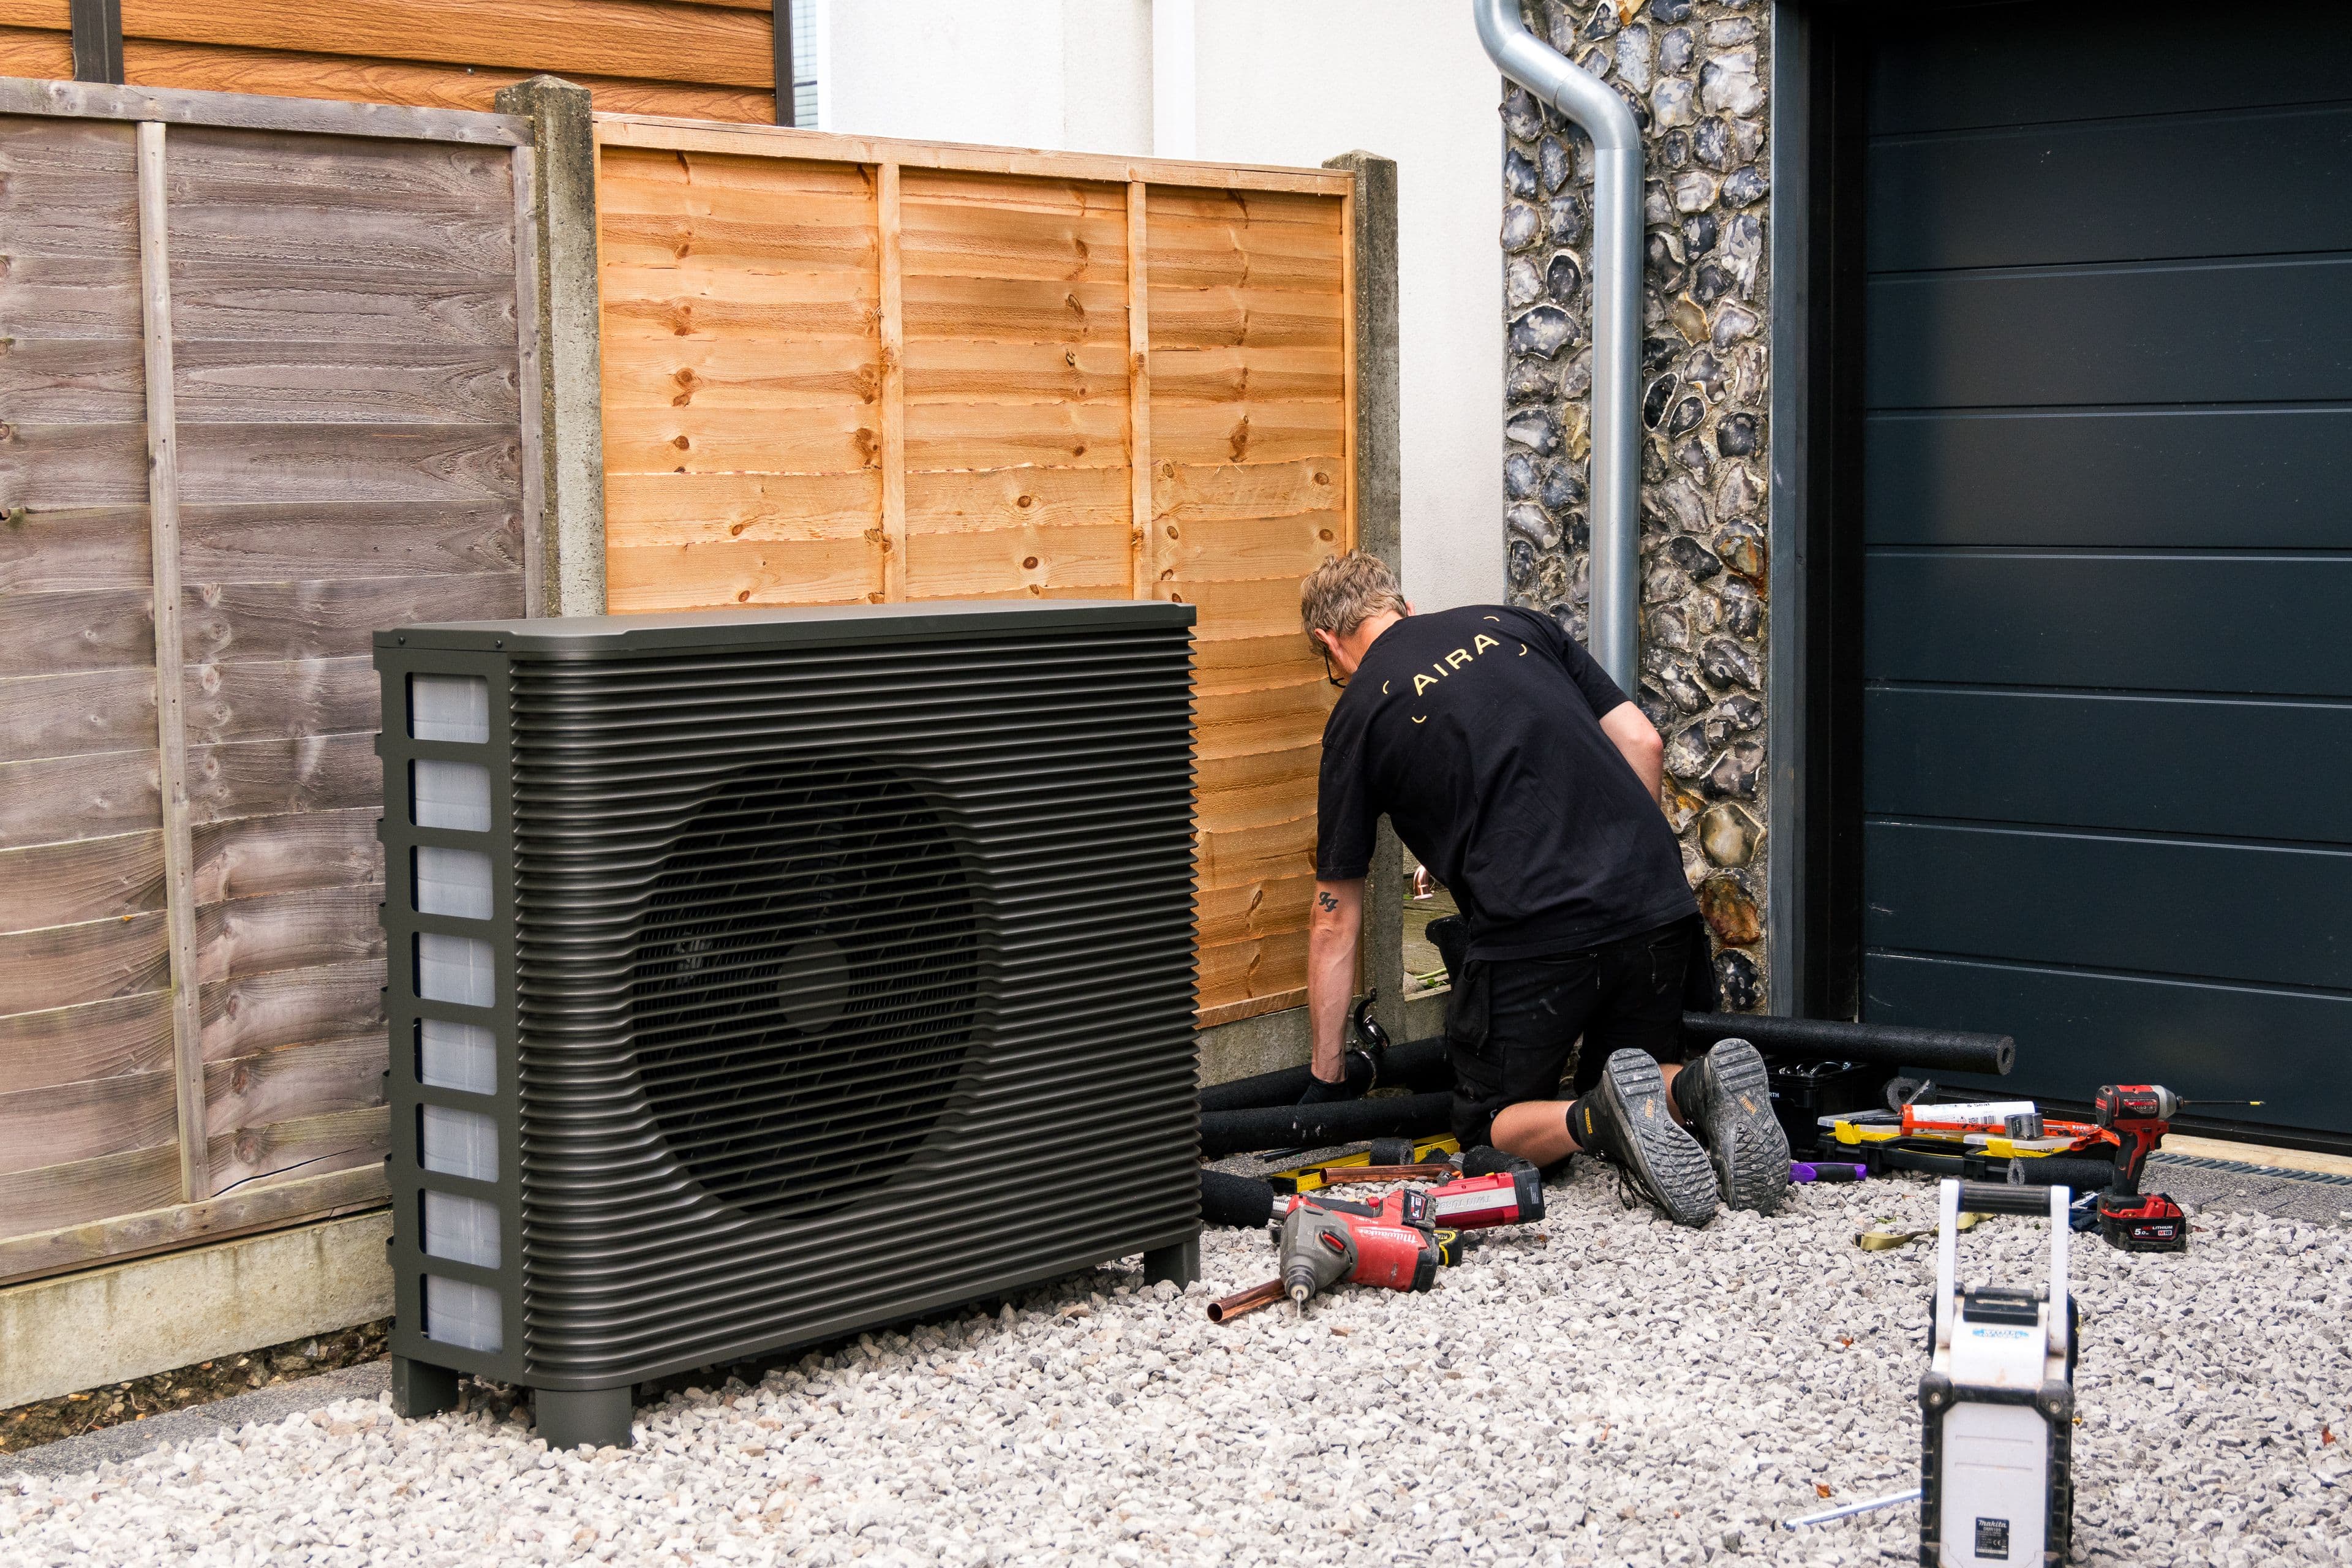
An air source heat pump needs to move large volumes of air through the outdoor unit, so it shouldn’t be boxed in, crowded by fencing or surrounded by objects that obstruct airflow. There should also be enough access for future maintenance.
The precise clearances depend on the heat pump and the manufacturer’s instructions, so be wary of anyone claiming there’s one universal measurement for every unit.
A good sign: the installer has positioned the unit with airflow, servicing and the surrounding home in mind.
A red flag: the unit is squeezed into a confined space with little explanation.
A firm, level base
The outdoor unit should be stable and level, supported by an appropriate base, feet or mounting system.
Good vibration isolation also helps stop noise or movement passing into nearby structures.
Look for:
- A secure, level position
- Suitable anti-vibration support
- No obvious rocking or instability
- Connections that aren’t under strain
- Enough room to inspect and service the unit
Safe defrost-water drainage
During cold weather, moisture can freeze on the outdoor unit. The heat pump occasionally reverses its cycle to melt this ice, producing water.
That’s completely normal. For example, the Aira Heat Pump has a built-in defrost cycle. But what matters is where the water goes.
A good installation should direct it somewhere safe, rather than allowing it to collect on a path, against the building or beneath the unit where it could freeze.
Properly protected external pipework
External pipes should be insulated to reduce heat loss and protect them from the weather.
Look for:
- No exposed copper
- Weather-resistant insulation
- Secure clips and supports
- Neat wall entry points
- Protective trunking or covering where appropriate
- Proper sealing around penetrations into the home
Messy external pipework isn’t just an appearance issue. Damaged or incomplete insulation can affect efficiency too.
What should good workmanship look like inside?
Inside the home, a good installation should feel considered rather than improvised.
That doesn’t mean every pipe can be hidden. Heat-pump installations sometimes involve significant plumbing changes, particularly in older properties. But the routing should be sensible, secure and agreed with you wherever possible.
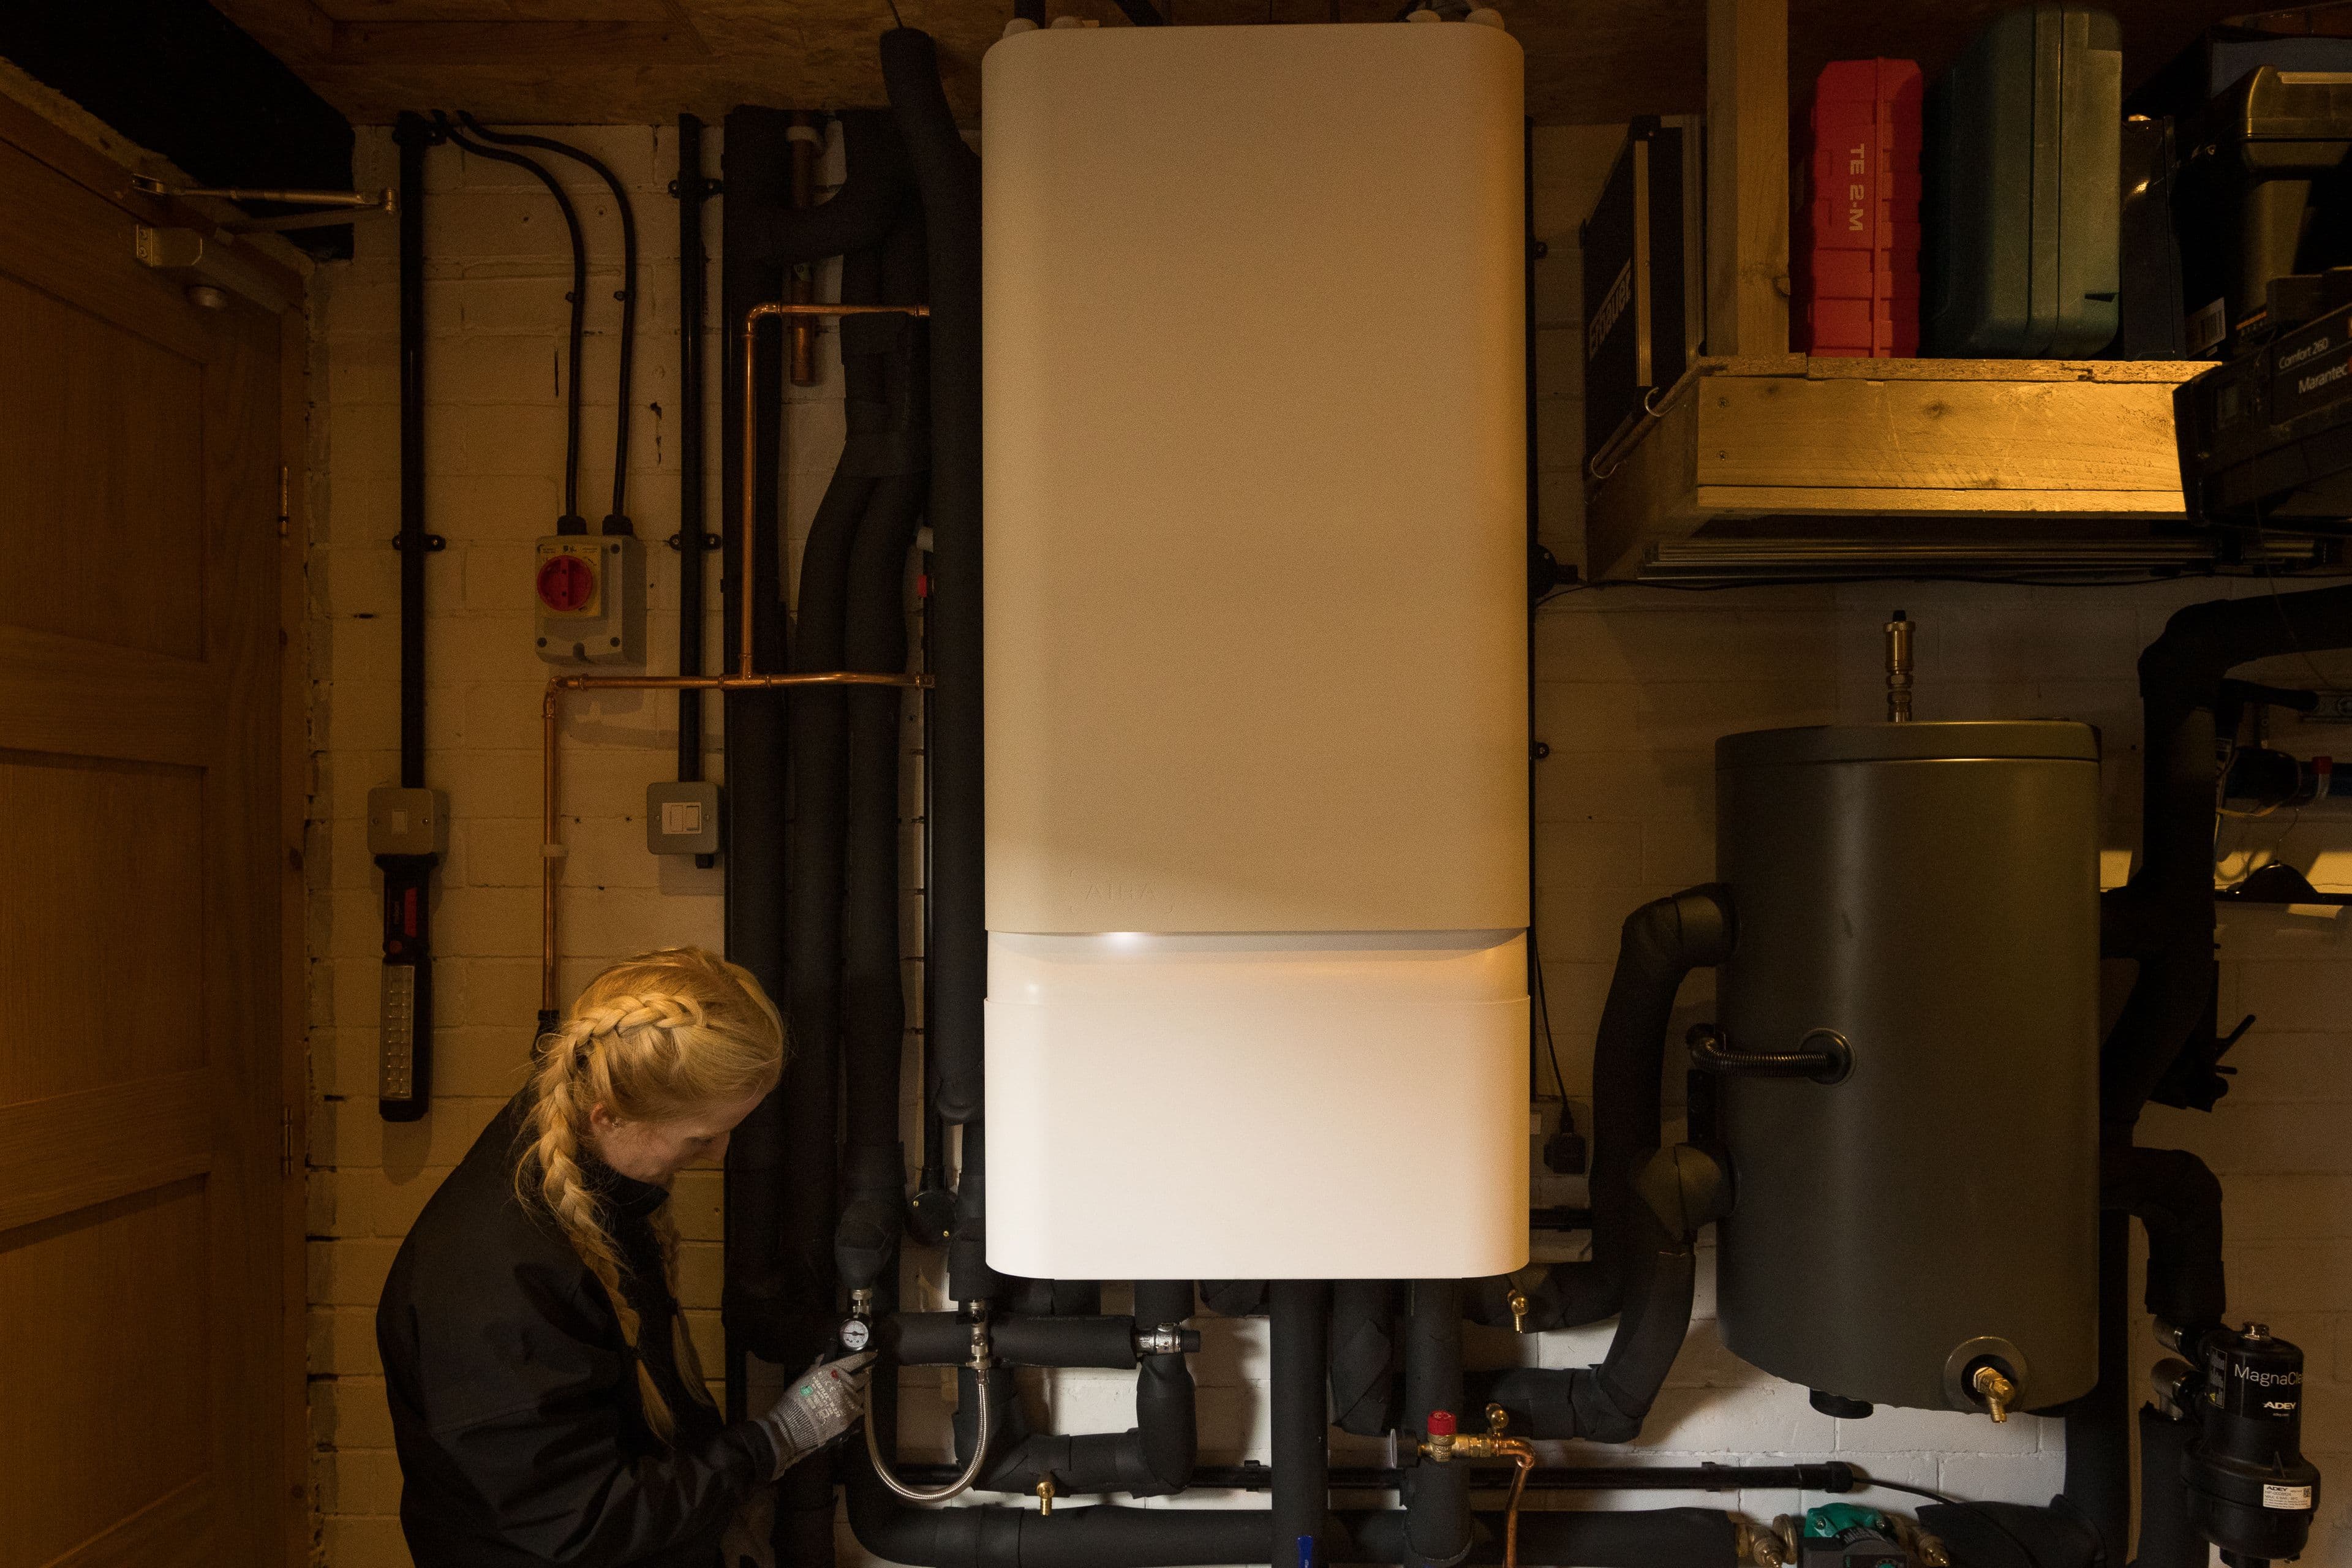
Neat, well-supported pipework
Good pipework should generally be:
- Properly clipped and supported
- Routed logically
- Insulated where needed
- Sealed neatly where it passes through walls
- Boxed or covered where agreed
- Free from unnecessary twists, strain or clutter
Looks matter. But what matters more is the care that went into the installation. Neat pipework is often one of the first signs you're dealing with an installer who takes pride in getting the details right.
The right indoor setup
Air-to-water heat pumps (like the Aira Heat Pump) usually work with stored hot water.
Your installer should recommend an indoor setup suited to the home, the available space and the amount of hot water your household typically uses.
Depending on the system, this may include:
- An all-in-one indoor unit (like our Indoor Unit)
- A separate hydrobox and hot-water cylinder (like our Indoor Unit Compact system)
- A buffer tank
- Upgraded radiators
- Connections to underfloor heating
The installer should be able to explain why each component is there. Take buffer tanks, for example. Some installers use them to help maintain consistent water flow through the system, support defrost cycles and reduce unnecessary stop-start cycling. Others prefer designs without them. Their presence alone doesn't prove an installation is good or bad.
The important question is: why does this particular home and heating system need one? A good installer should be able to explain the answer.
Respect for your home
A professional installation also includes the basics:
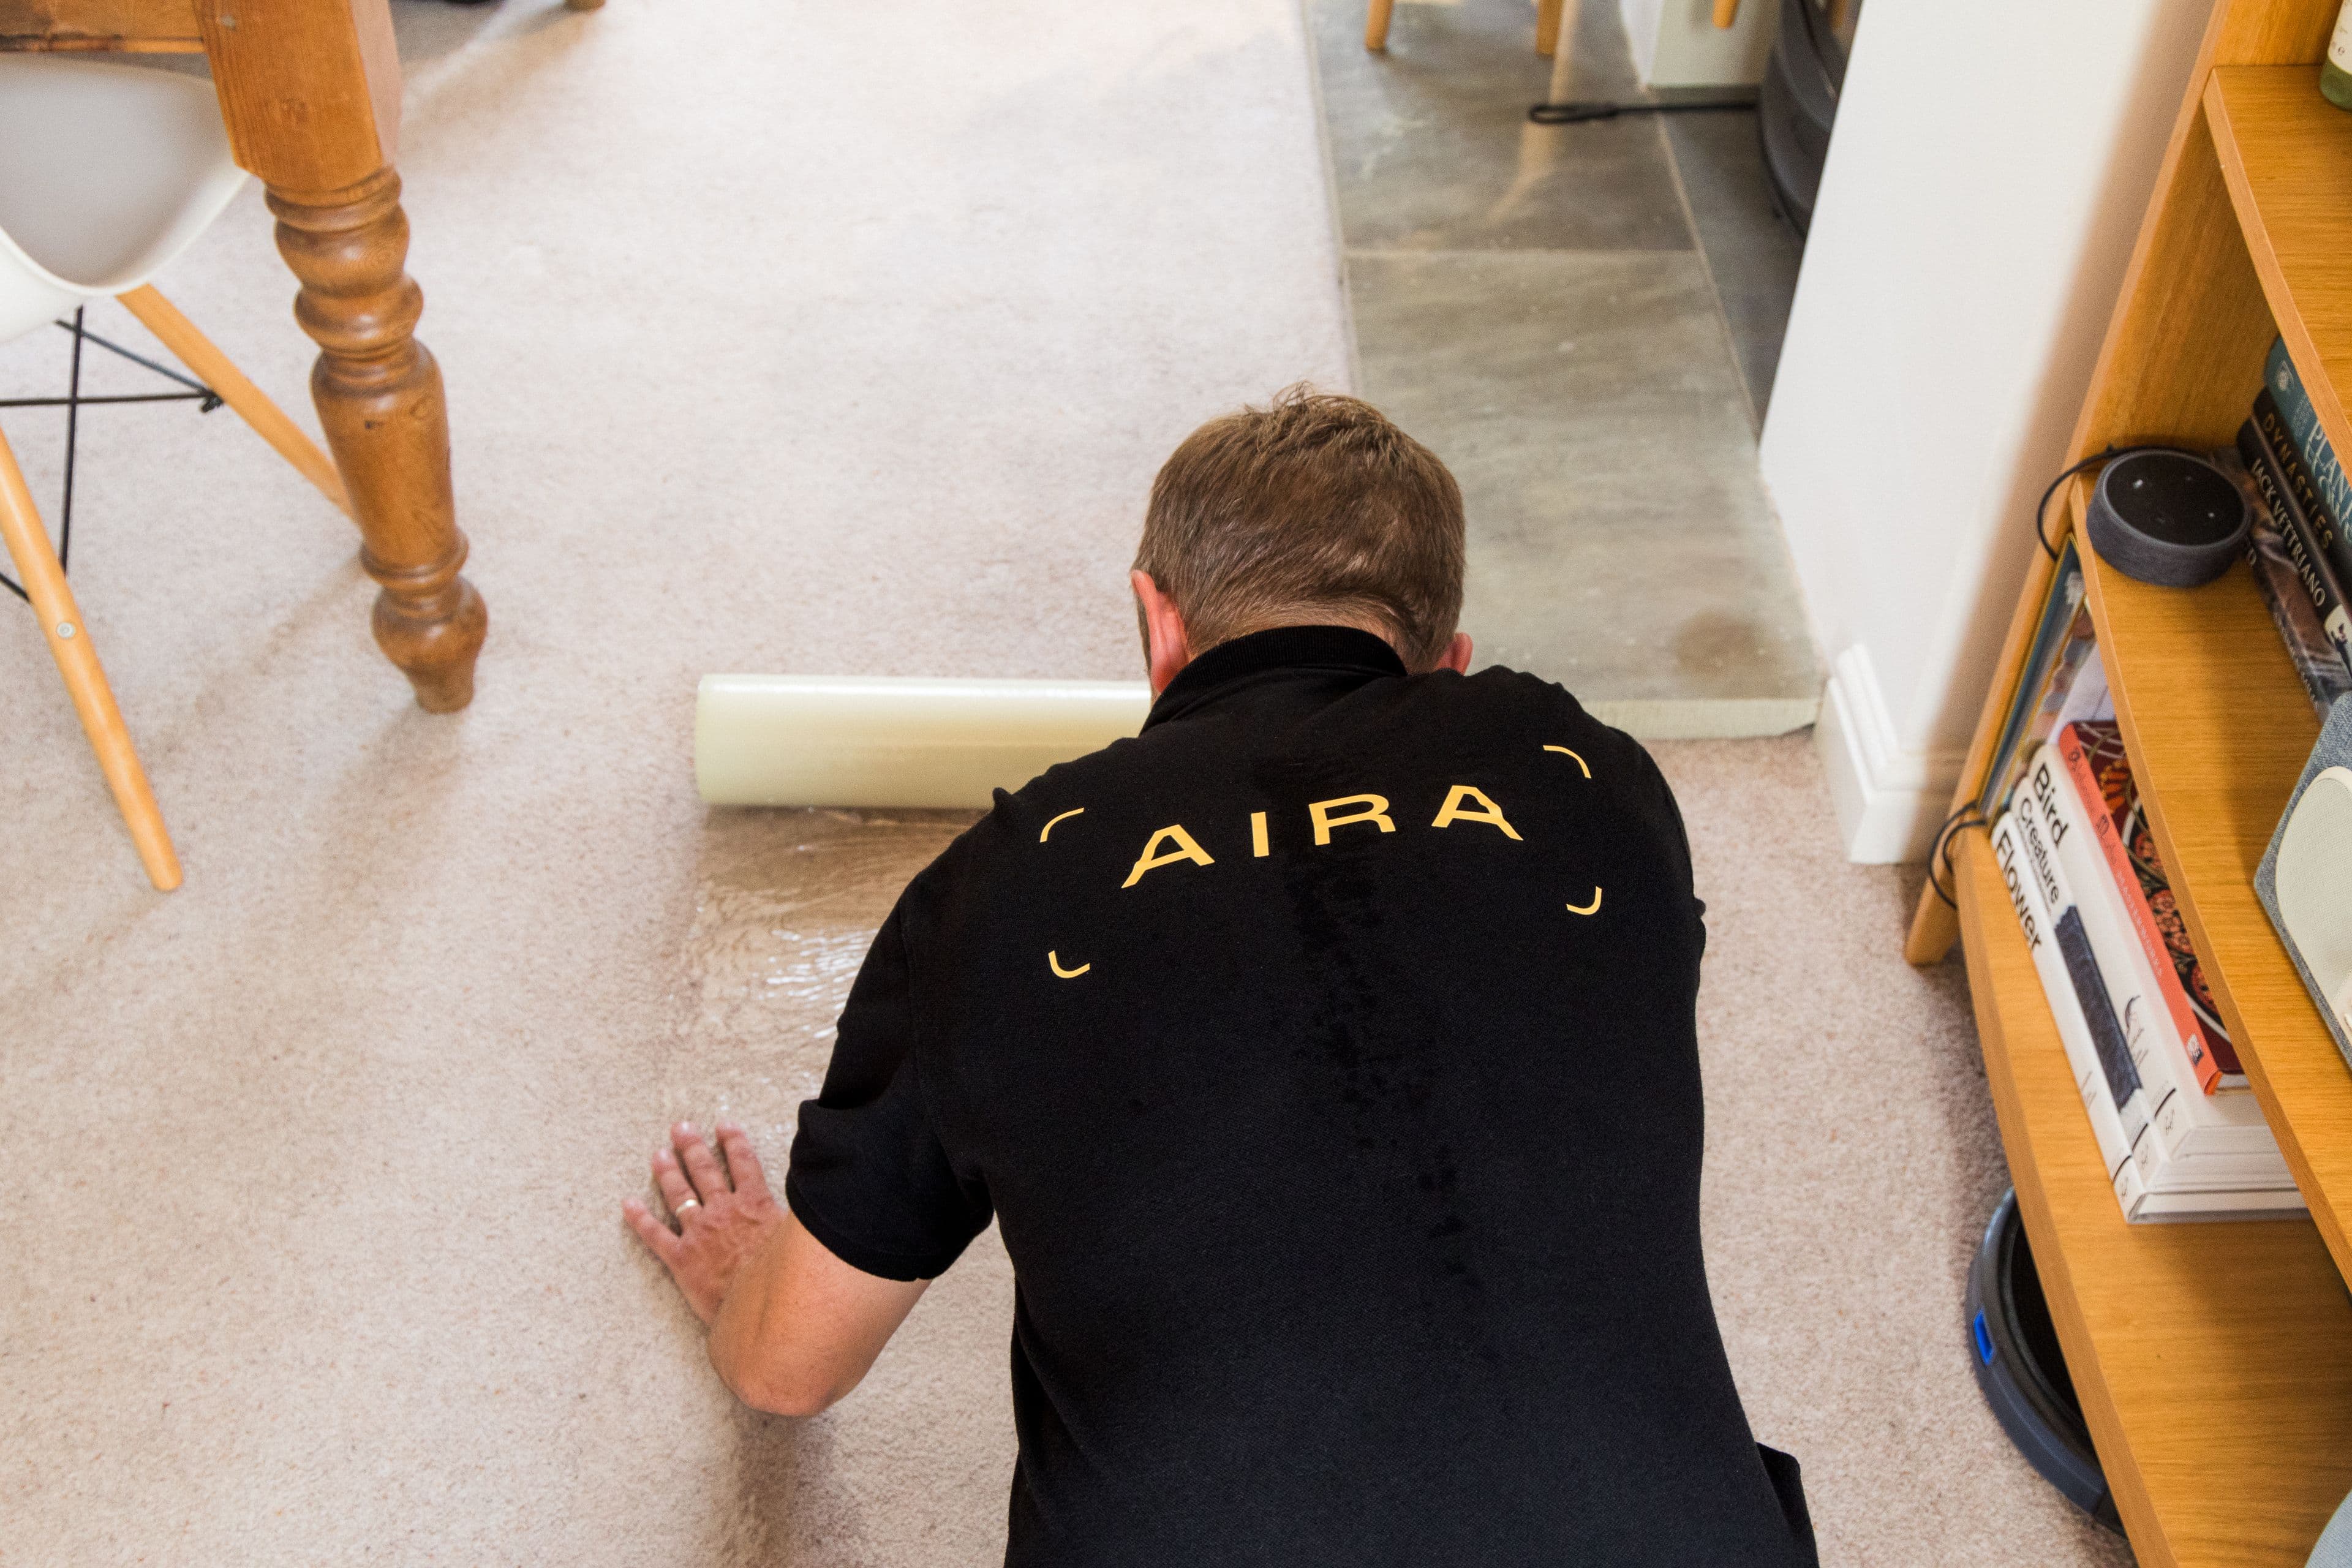
- Protective coverings on floors and surfaces
- Care around furniture and belongings
- A clear explanation of when heating or hot water will be unavailable
- Regular updates throughout the work
- Removal of waste and old equipment where agreed
- A thorough clean-up at the end
At Aira, we begin by protecting the home, checking the full delivery and walking through the design with the customer before work starts.
It’s your home. And it should be treated with the respect it deserves.
The part you can’t see: testing and commissioning
A heat pump can look beautifully installed and still perform badly if it hasn’t been commissioned correctly.
Commissioning is where the installer tests the completed system, configures it and confirms that everything is operating safely and as designed.
It isn’t an optional final flourish. It’s a critical part of the installation.
Flushing, filling and checking the system
Before handover, the installer should make sure:
- The heating system has been properly flushed where required
- Debris has been removed
- The system is filled correctly
- Air has been removed
- Pipework and connections are watertight
- Pressure is stable
- Electrical work has been safely tested
- Every component operates as expected
At Aira, our electricians complete safety testing before cables go live. Our technicians then fill the system, remove air, check pressure and record the results before sign-off.
Balancing the heating system
Heated water naturally follows the easiest route through a heating system. So, without proper balancing, some radiators may receive too much flow while others receive too little. That can leave one room roasting and another wondering what it did wrong.
Balancing controls the flow through the system so heat is distributed properly around the home.
Warning signs worth raising with the installer include:
- Rooms that remain consistently cold
- Radiators heating very unevenly
- Excessive noise from pipes or radiators
- The heat pump repeatedly switching on and off
- Large differences between expected and actual energy use
These symptoms don’t automatically prove the installation is poor. But they’re good reasons to ask the installer to investigate.
Controls set up for the home
Think of it as the finishing touch. Once everything's installed, your heat pump should be configured around your home, from how it responds to the weather to how you like your heating and hot water.
That may include:
- Weather compensation
- Heating flow temperatures
- Hot-water temperatures
- Control settings
- Heating preferences or schedules
- Smart tariff connectivity
- App setup
It's those final adjustments that help your heat pump run smoothly and efficiently from day one.

What should happen before the installer leaves?
A good installer doesn’t switch the system on, hand you a manual and disappear – leaving you in the cold.
You should receive a proper handover. This should include…
A clear explanation of how everything works
You should understand:
- How to control your heating
- How to adjust your hot water
- What the heat pump normally sounds like
- Why your radiators may feel cooler than they did with a boiler
- How to use the system efficiently
- Which settings you may want to adjust
- Which settings are better left alone
- What to do if something doesn’t seem right
- Who to contact for support
You shouldn’t need to understand refrigerant cycles or plumbing diagrams. But you should feel confident living with a system you likely have never used before.
Your paperwork
Before the installation is considered complete, you should receive the relevant documents for your system.
These may include:
- System design information
- Commissioning records
- Warranty documentation
- Product instructions
- Installer contact details
- Electrical or installation certificates
- MCS and funding paperwork where applicable
- Information about maintenance and aftercare
Keep these somewhere safe. They may be needed for warranties, future maintenance or if you sell the home.
A written commissioning report
A written report creates accountability. It shows that important checks were completed and records how the system was configured when it was handed over.
If an installer won’t provide one – or can’t explain what it includes – ask why.
Seven signs of a bad heat pump installation
No installation is identical, and not every unusual detail is evidence of poor work. But these warning signs deserve a closer look:
1. No room-by-room heat-loss calculation
Without one, the installer is unlikely to know exactly how much heat the home or individual rooms need.
2. The heat pump is sized using the old boiler alone
Boilers are often oversized, so copying the boiler output is not a reliable design method.
3. Nobody can explain the intended flow temperature
The design temperature has a major effect on efficiency. The installer should know what they’re aiming for and why.
4. External pipework is exposed or poorly insulated
This can increase heat loss and leave the installation vulnerable to weather damage.
5. Defrost water has nowhere safe to go
Water collecting beneath the unit or across a path can become a nuisance. Or even a freezing hazard.
6. The system isn’t thoroughly tested and balanced
Poor commissioning can lead to uneven heating, excessive cycling, noise and disappointing performance.
7. There’s little handover, documentation or aftercare
The installer should be able to explain the system, show that it has been properly commissioned and tell you exactly what happens if something goes wrong.
Your heat pump installation checklist UK
Use this checklist when reviewing quotes, watching the installation or completing the handover.
Before installation
- Has your home received an in-person technical survey?
- Has a room-by-room heat-loss calculation been completed?
- Can the installer explain how they sized the heat pump?
- Have all radiators and existing pipework been assessed?
- Have proposed equipment locations been agreed with you?
- Has the intended flow temperature been discussed?
- Are all required upgrades clearly included in the quote?
- Do you know who will physically install the system?
- Do you know who is accountable if it underperforms?
- Has the installer explained what their commissioning report includes?
During installation
- Are floors and surfaces properly protected?
- Has the installer checked the complete equipment delivery?
- Is the outdoor unit stable, level and unobstructed?
- Is there safe drainage for defrost water?
- Is external pipework fully insulated?
- Are wall entry points sealed neatly?
- Is internal pipework securely supported?
- Are the agreed radiator and pipework upgrades being completed?
- Are you being kept updated throughout the work?
Before handover
- Has the system been flushed and checked for leaks?
- Has trapped air been removed?
- Have pressure and flow been tested?
- Has the heating system been balanced?
- Has the heat pump been fully commissioned?
- Have the controls and app been configured?
- Have you been shown how to use the system efficiently?
- Have you received a written commissioning report?
- Have you received your warranties and certificates?
- Do you know who to contact if you need help?
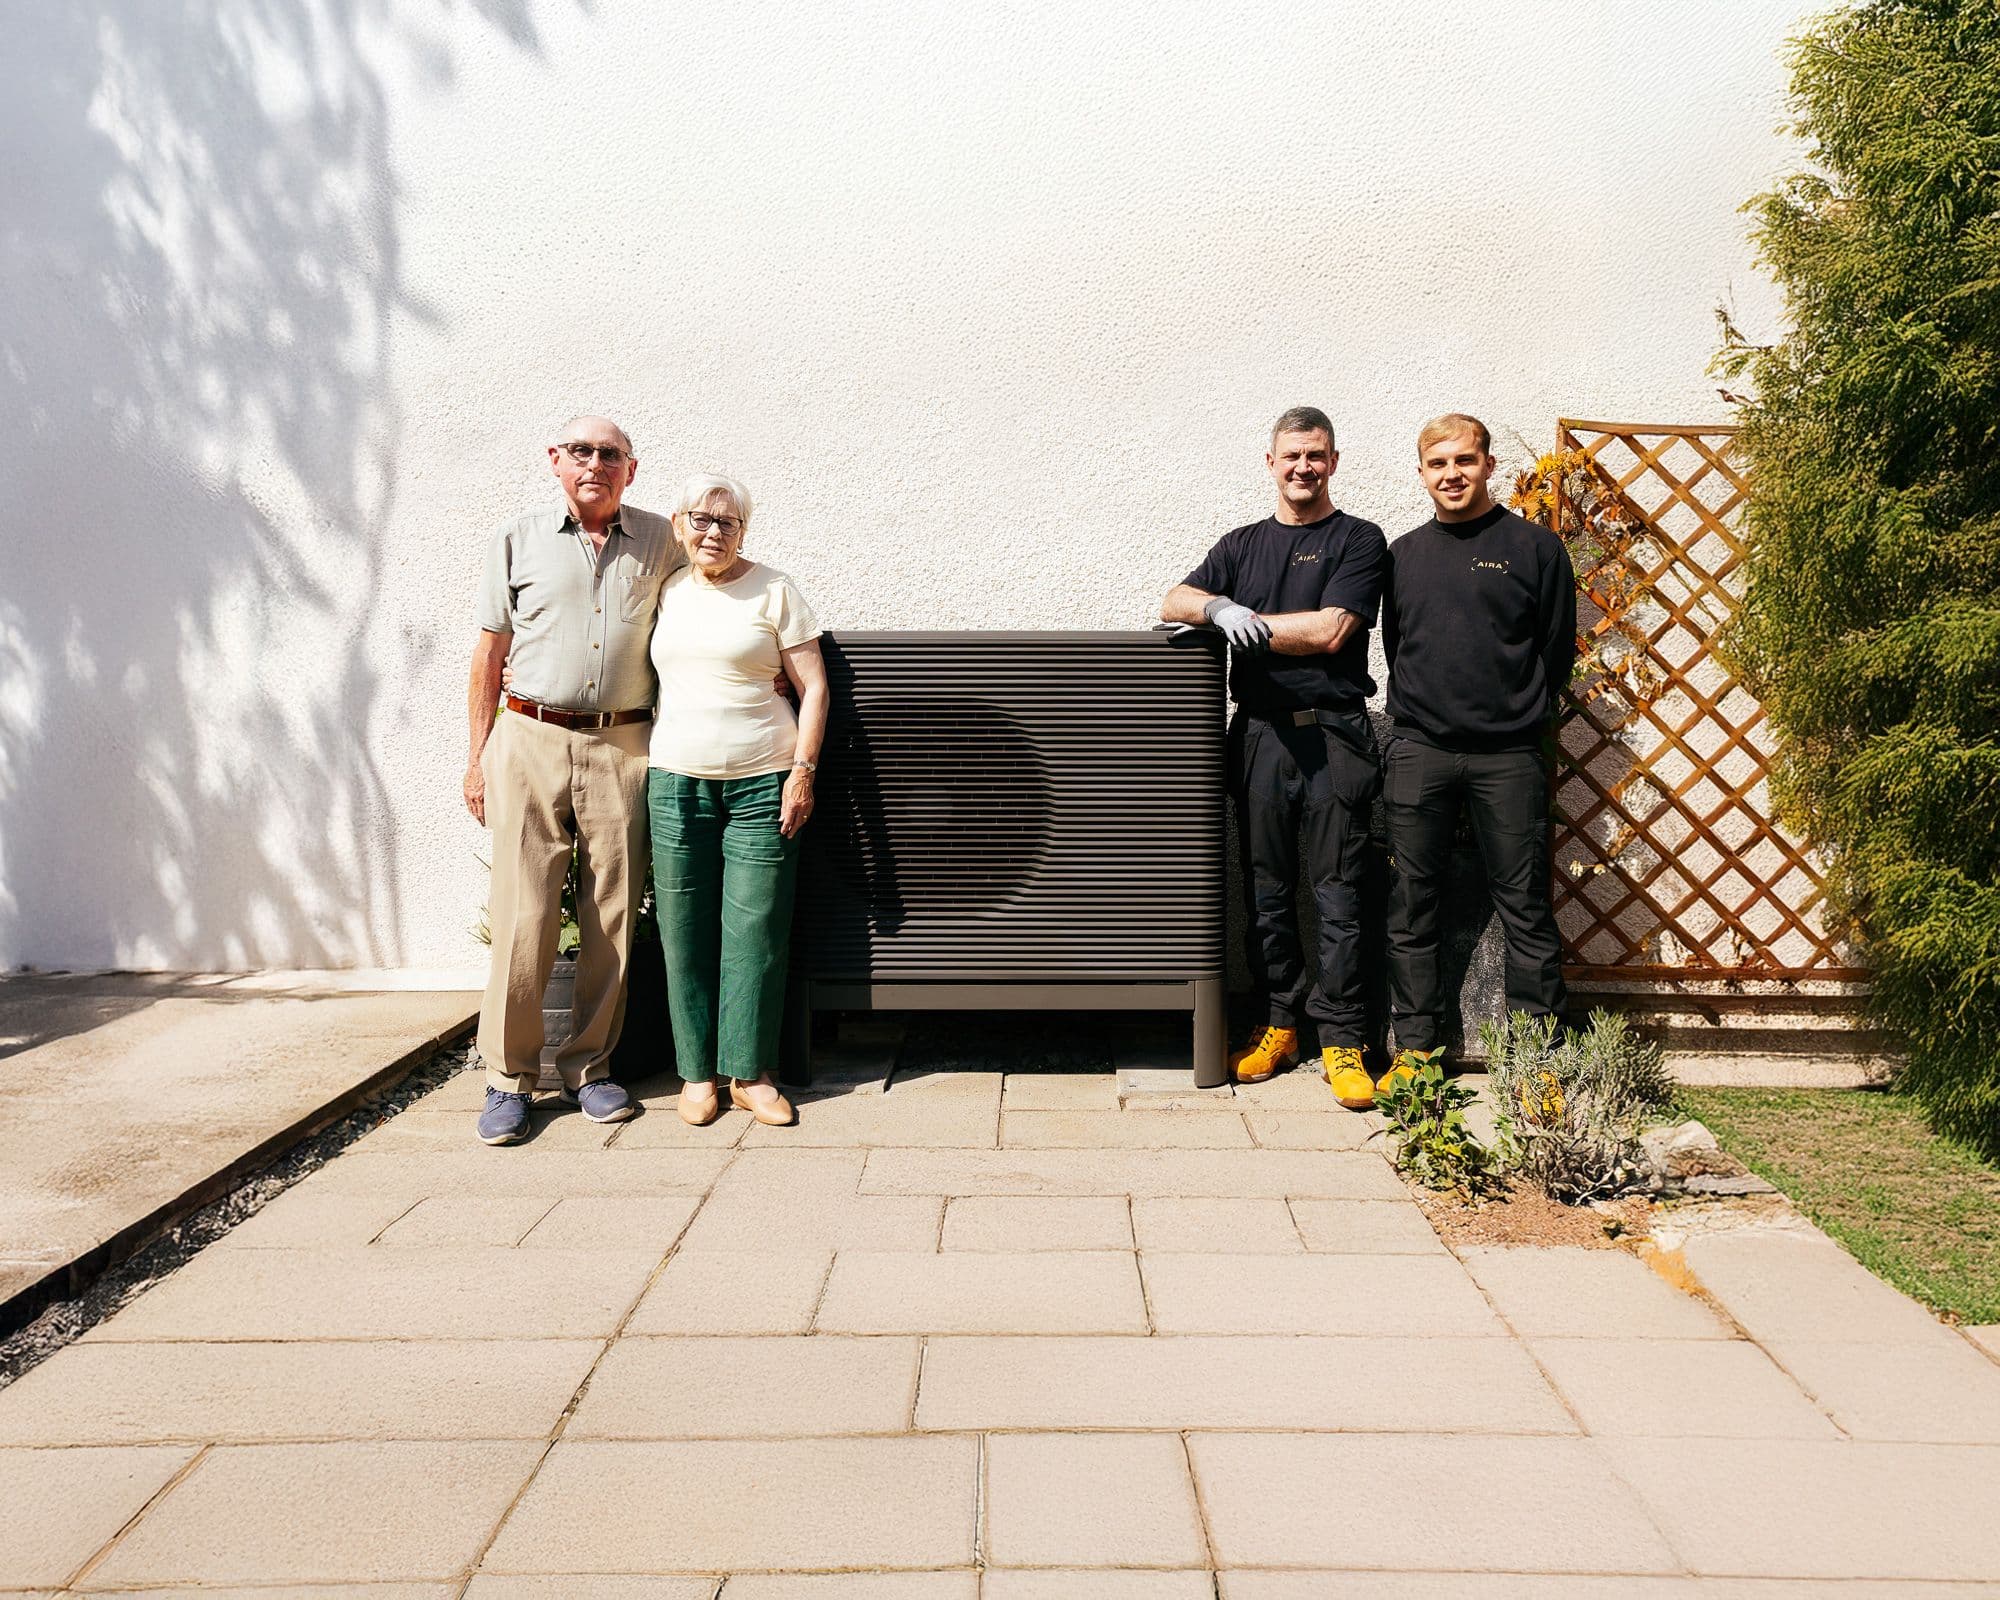
What an Aira Heat Pump installation looks like
At Aira, we know that even the best heat pump won’t perform properly if it isn’t installed properly.
That's why every Aira Heat Pump starts with a detailed technical survey and a room-by-room heat loss calculation using our bespoke design software. From there, we design every system around the home, not the other way around.
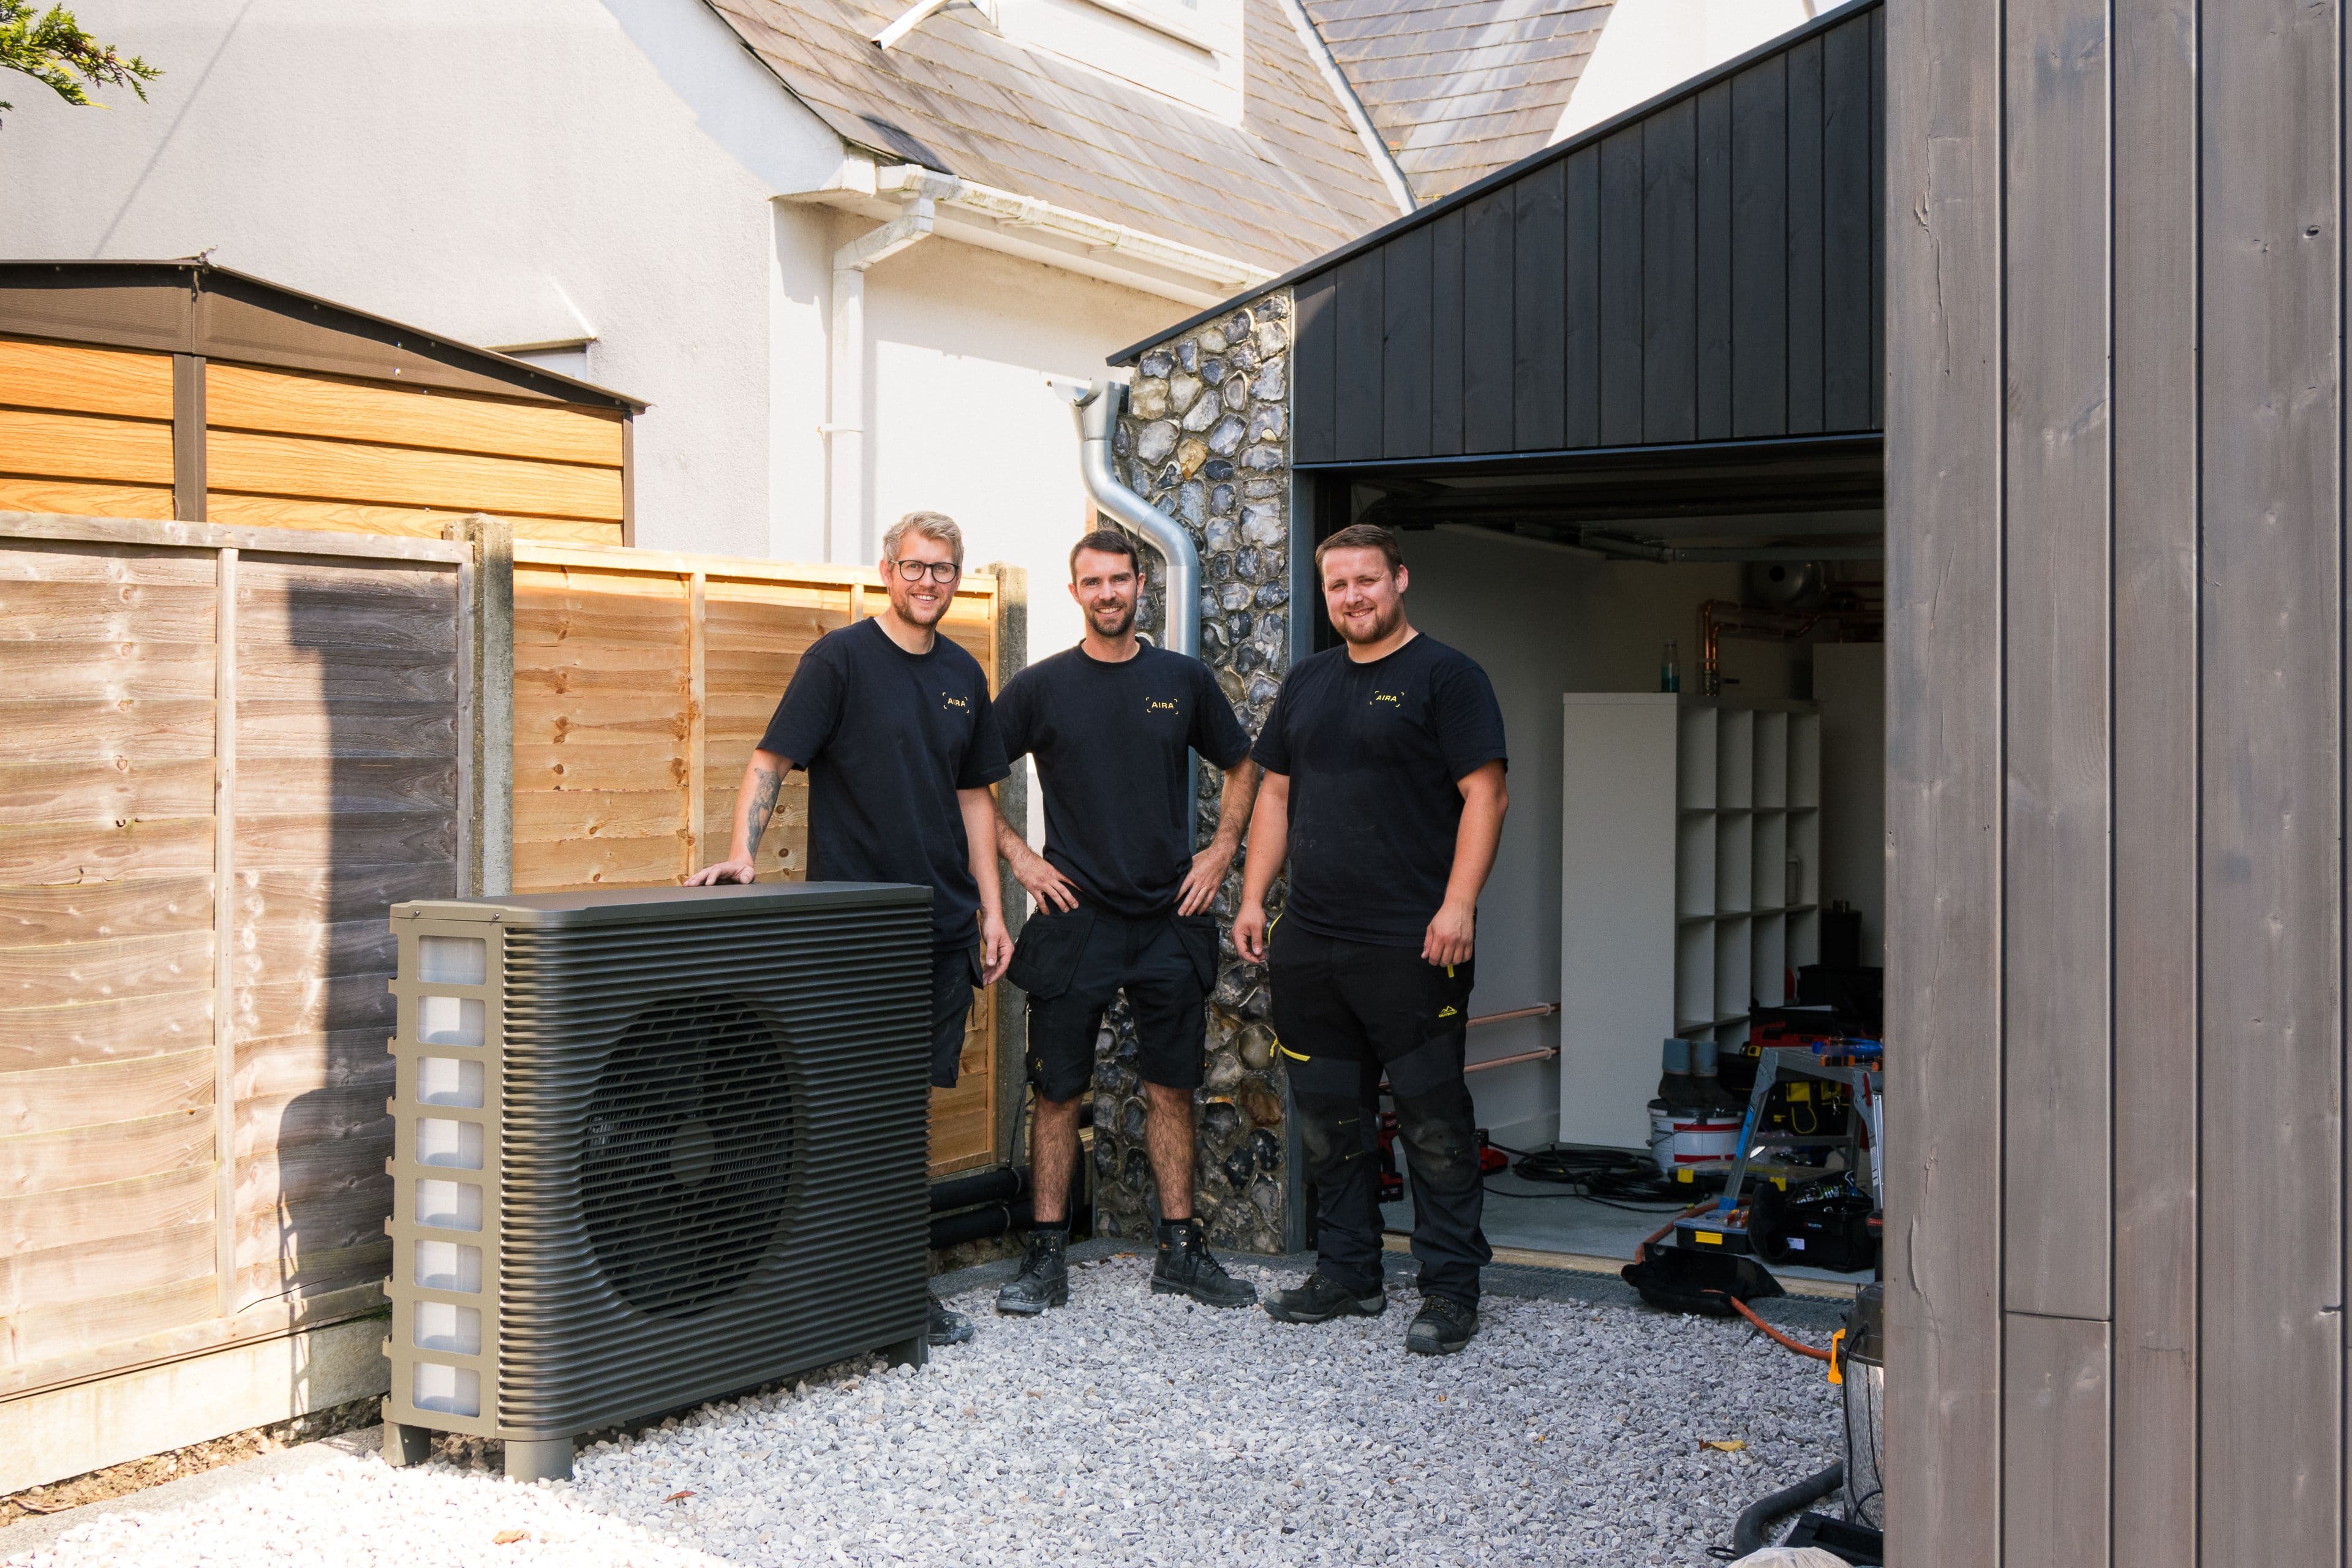
Every installation is carried out by Aira Technicians or trusted installers trained at the Aira Academy, following the same high standards from the moment they arrive to the final handover.
But our job doesn't end when the installation's complete. Your first year of our Aira all-inclusive plan is completely free. Why? Because we're so confident in our product and our installation, and we want you to feel the same. It includes remote monitoring, ongoing aftercare and our industry-leading 15-Year Aira Guarantee, so you can enjoy complete peace of mind from day one.
Want to learn more? See exactly what happens during an Aira Heat Pump installation in our step-by-step guide.
The bottom line
A good heat pump installation isn’t simply one with neat pipes and a smart-looking outdoor unit.
It’s one that has been properly calculated, designed around the home, installed with care and thoroughly tested before handover.
It should keep every room cosy, run as efficiently as the property allows and leave the homeowner knowing exactly how to use it.
Most importantly, the installer should still be there if reality doesn’t match the design. Because installing a heat pump isn’t just about getting the job done.
It’s about getting it right.
See how much you could save with an Aira Heat Pump
Answer 4 quick questions about your home to get started
What type of house do you live in?

Related articles
Heat pumps: The basics
13 Aug 2026
Your rights if your heat pump installation goes wrong
Has your heat pump installation gone wrong? Or worried it will go wrong? From MCS protections to the Consumer Rights Act to what to do if your installer stops trading, here's a straightforward guide to your rights and the steps you should take.
Heat pumps: The basics
13 Aug 2026
Heat pump warranties explained: what MCS covers – and what it doesn’t
Most homeowners think MCS certification guarantees their heat pump's performance. It doesn't. Here's what an MCS certificate actually covers, where its protection ends, and the warranty and guarantee questions every homeowner should ask before choosing an installer.
Heat pumps: The basics
17 Apr 2026
Do you need insulation before installing a heat pump?
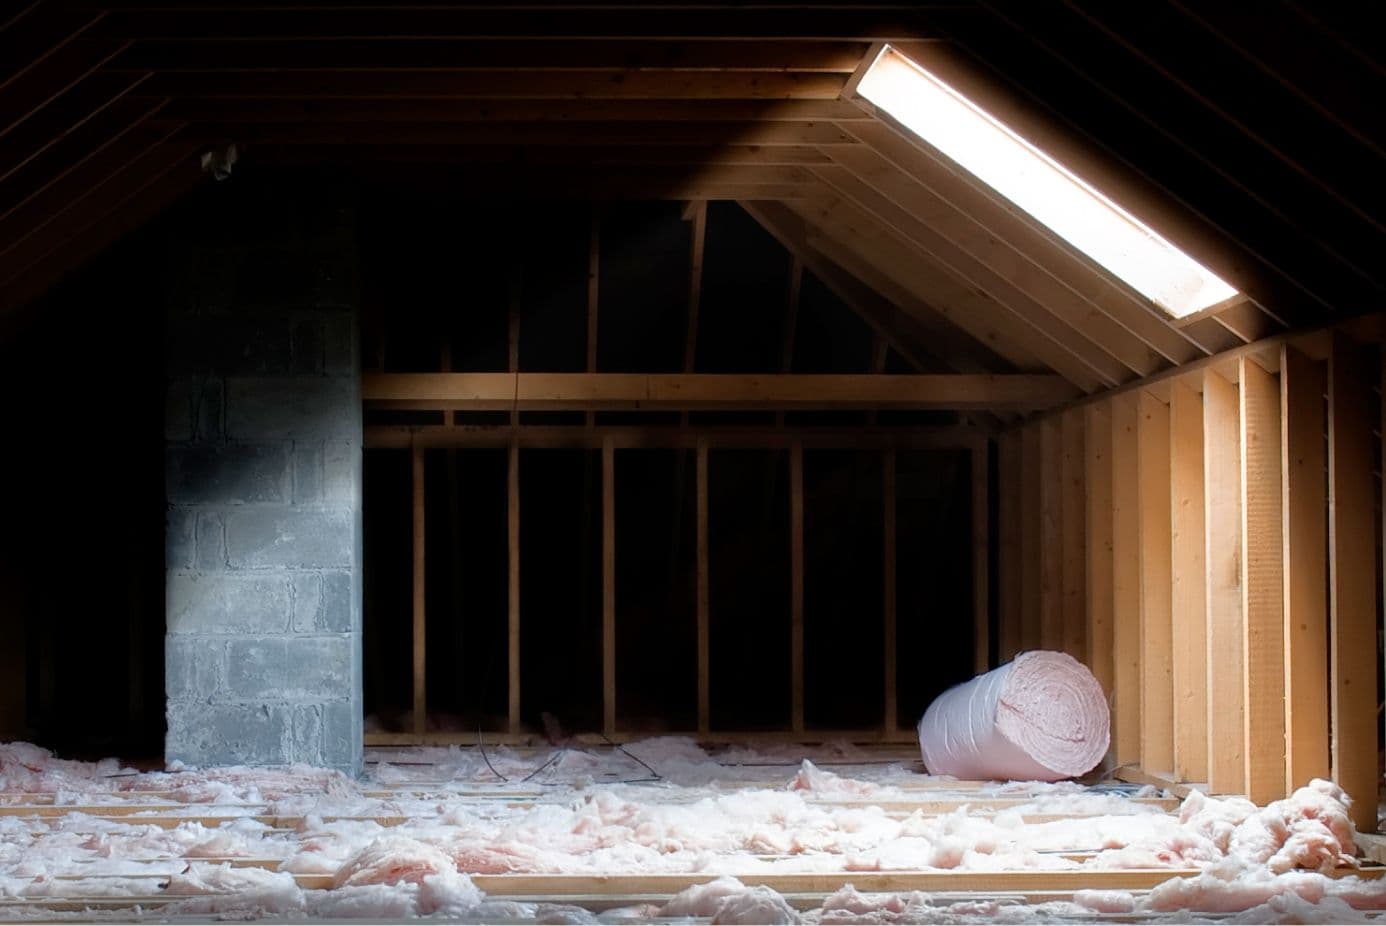
Do you need to insulate your home before installing a heat pump? Not always. But the right level of insulation can make a big difference to performance, cost, and comfort.

Heat pumps: The basics
13 Apr 2026
Heat pump quotes: what to look for (and what to avoid)
Heat pump quotes can vary widely, but understanding what’s included makes all the difference. This guide explains what to look for, what to avoid, and how to choose a system that delivers real comfort and long-term value.

Heat pumps: The basics
2 Dec 2025
Do heat pumps work in older homes?
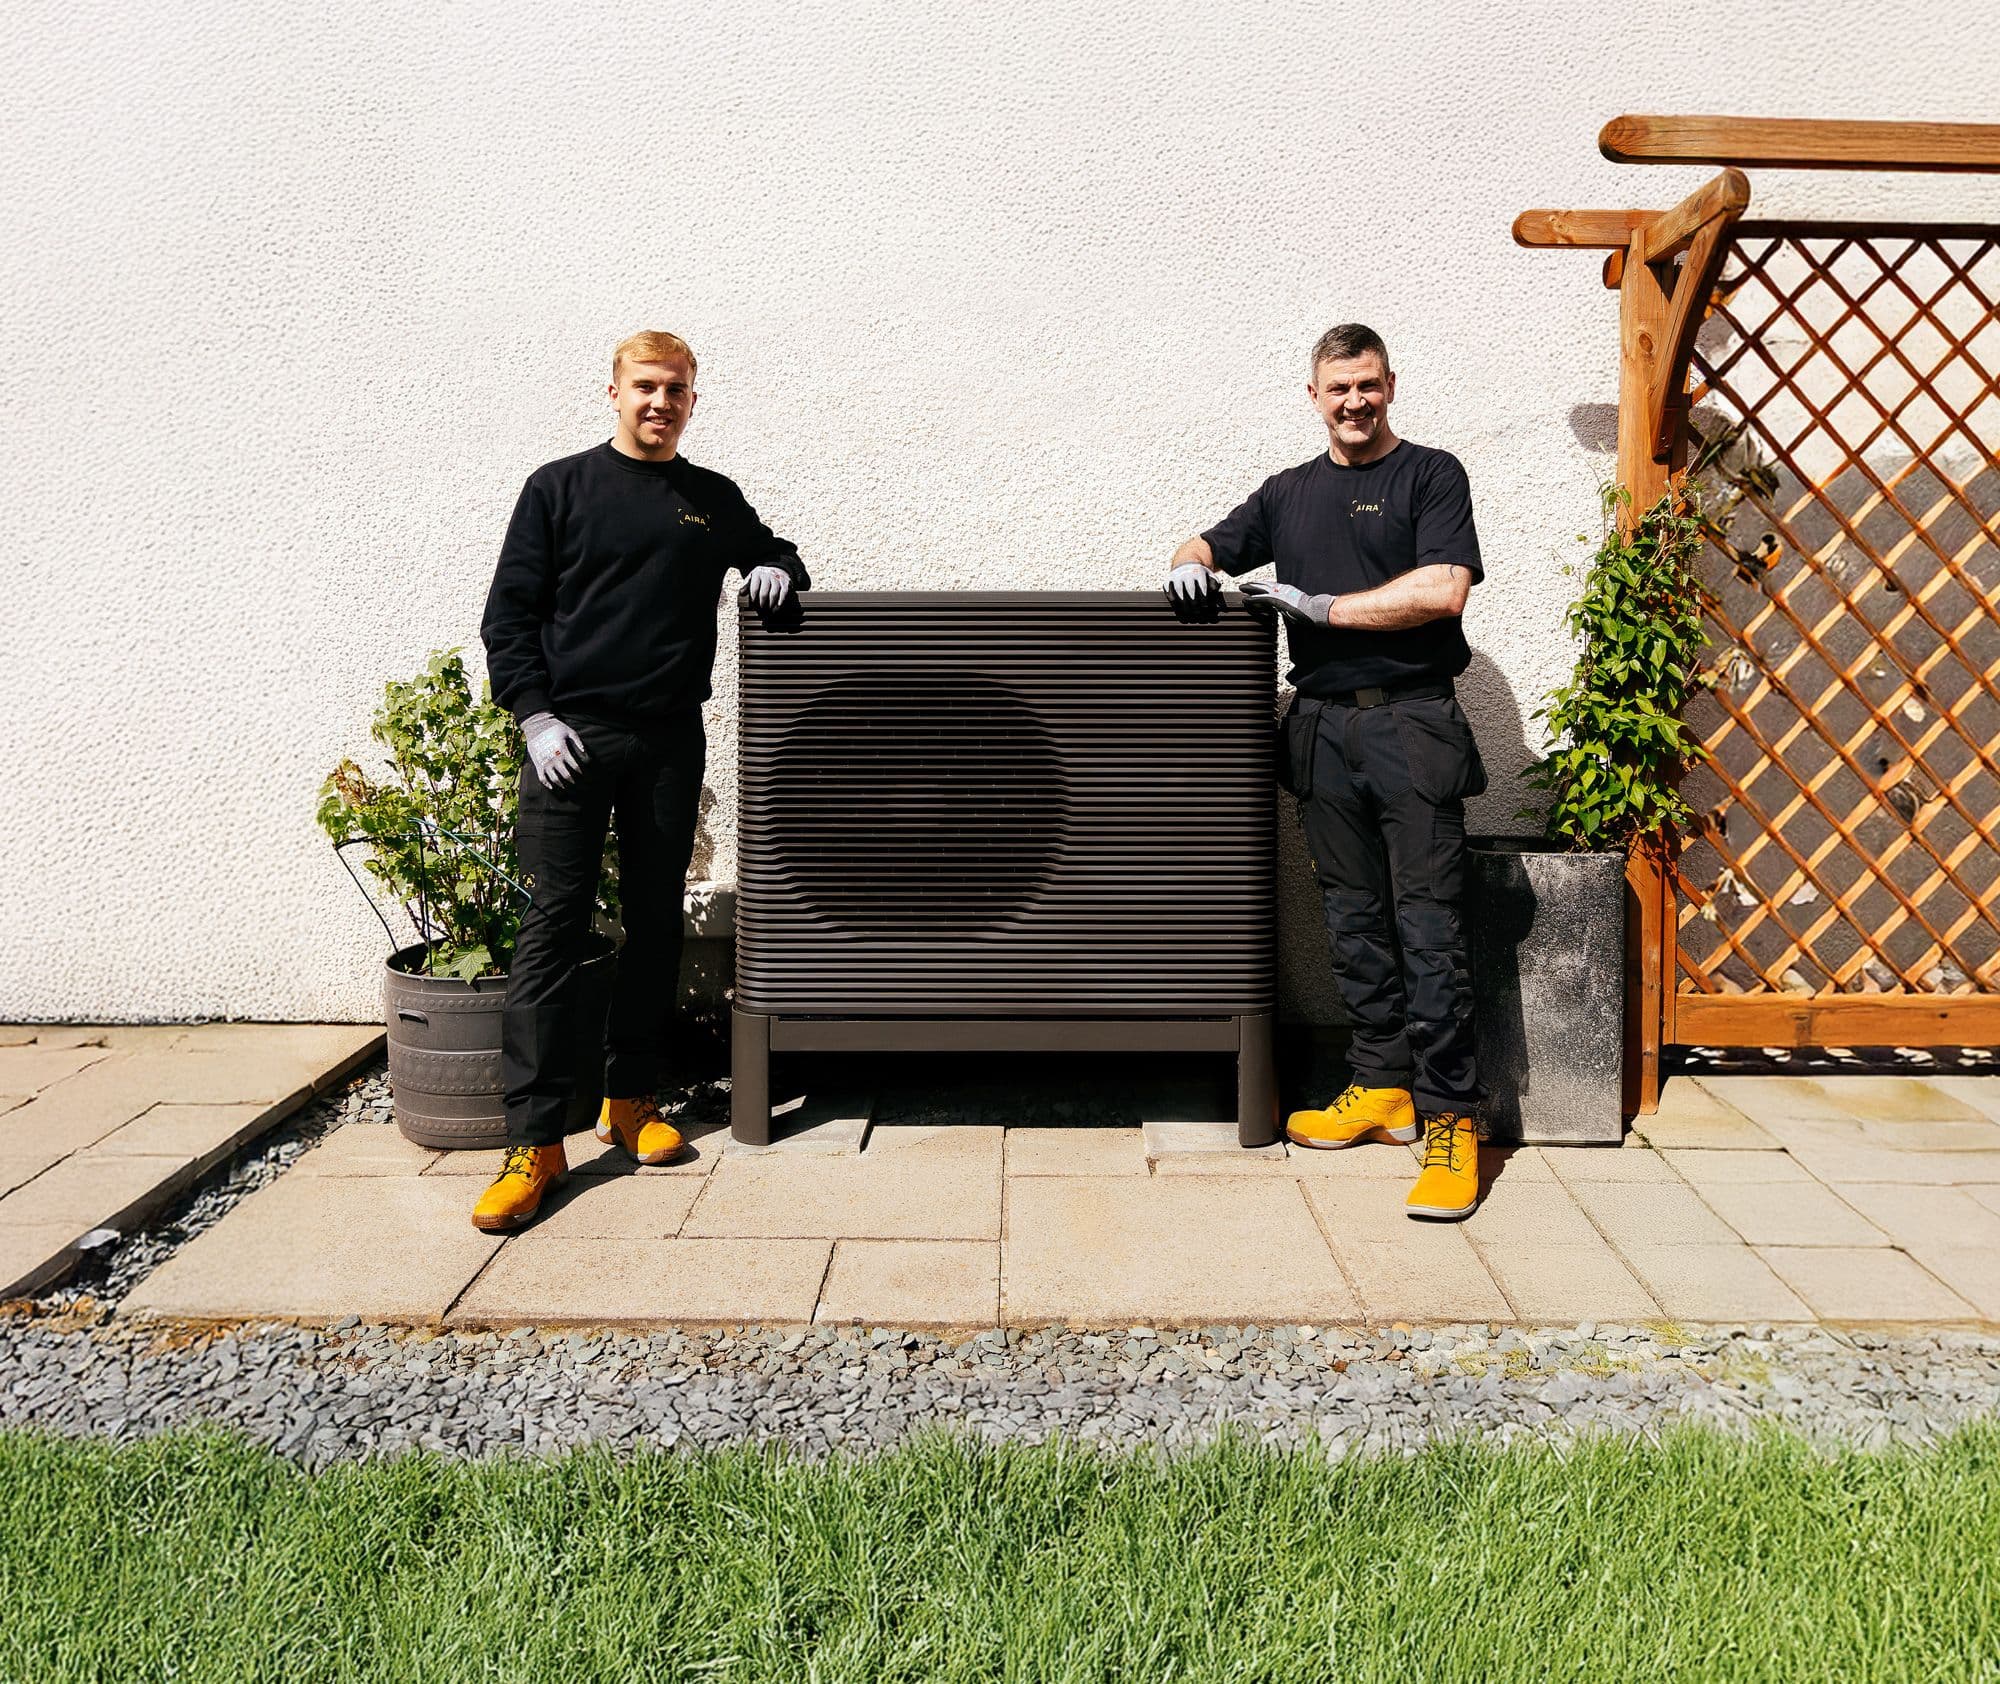
Thinking heat pumps are just for new builds? Think again. Many older homes can run a heat pump efficiently and affordably – cutting energy bills, reducing carbon emissions, and future-proofing your home. Just as a heat pump in a newbuild home would.
Heat pumps: The basics
19 Jun 2025
The top 5 heat pump myths. Busted.
Think heat pumps are too expensive, too noisy or only work in brand-new homes? You're not alone. But a lot of what you hear simply isn't true. And it's time to set the record straight. We debunk the top 5 heat pump myths.